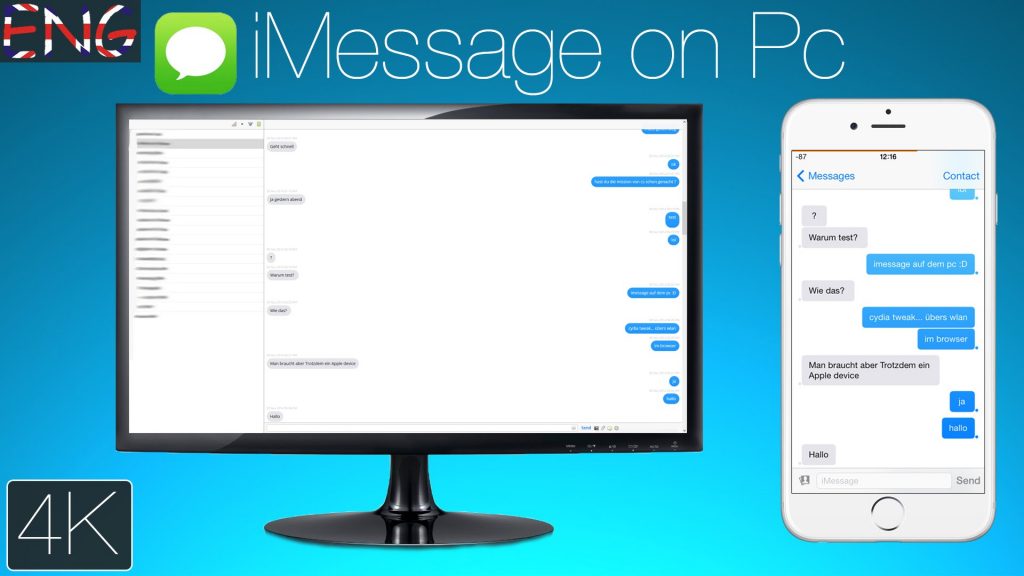
Nowadays, many people have started using a combination of iPhone and Windows PC. As iMessage has the capacity to integrate nicely with iPhone and Mac, same implementation people need in windows also. Although till now there is no direct method to do the same, but some ambiguity based methods are available to run iMessage on Windows.

Steps to install iMessage on Windows PC
The method that is being discussed over here requires you to have MAC compulsorily. Below are the steps that you need to follow in order to get iMessage on Windows:
Step 1: The very first and basic step is to install iMessage on the MAC and then set it up.
Step 2: Next task is to download chrome in your system if not installed along with the remote desktop app of chrome in windows as well as in MAC.
Step 3: Once downloaded, click on the tab of ‘add app’ for chrome.
Step 4: Now launch the app on the system.
Step 5: Next step is to download chrome remote desktop host installer on your Mac machine.
Step 6: Once the installer is downloaded, next step is to double click on the .dmg file.
Step 7: Now, double-click on the package.
Step 8: Once all steps are done, it will ask you for your MAC credentials. Enter the password and then tap ‘install software’.
Step 9: Now, click on ‘continue’.
Step 10: Finally, you have to click on ‘install’.
Step 11: As soon as the installation process is complete, a pop up will come. You have to click on ‘close’.
Step 12: Now, open the installer (remote desktop host installer) on your Mac device and then press ‘get started’.
Step 13: Next step is to click on ‘share’.
Step 14: A number will be displayed on the screen. Save it somewhere, it will be asked later.
Step 15: Now, you will have to open the chrome on Windows. Once done, open the apps and then launch the remote desktop app of chrome.
Step 16: Press on ‘access’. In case it asks for a Google account, connects your account to it.
Step 17: It will ask you to grant permission now. Click on ‘allow’.
Step 18: click on ‘continue’ now.
Step 19: It will ask you to enter the access code now. You have to give the same number that got generated in Step 14.
Step 20: This is the entire process of how to use iMessage on Windows. Now in the Mac device tap on the ‘share’ button.
Step 21: once both of the machines are successfully set up on the remote desktop, accessing iMessage on Windows will be allowed for you. All the files and application can be easily accessible now.

Steps to install iMessage on Windows with iPadian 2
The steps discussed above on how to use iMessage on PC can be used only when you have MAC. In case you don’t have MAC then how will you use iMessage on Windows? You might think it is impossible, but the answer is yes.

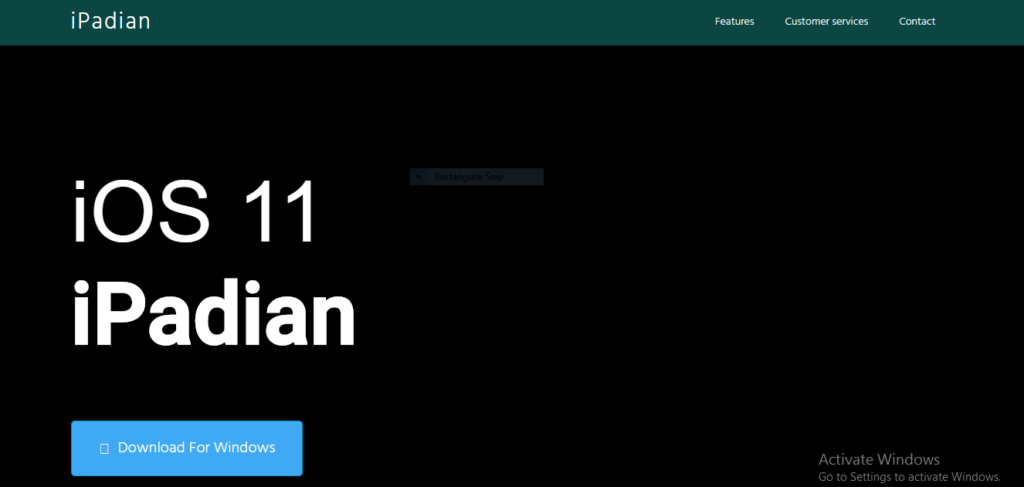
Here is another simple guide on how to run iMessage on Windows pc with the help of an emulator. With the help of this emulator, a virtual iOS environment will be created on the PC and thus you will be able to enjoy the iMessage for windows.
Step 1: First step to download the iPadian 2 emulator on the windows.
Step 2: Now, open the setup of iPadian 2 and just follow the instructions that come on the screen. Then, you will be able to install the emulator easily for you.
Step 3: Once installed, run the emulator and then accept the terms and the conditions.
Step 4: Now, search the iMessage application and once you get that, download it.
Step 5: Once the downloading is complete, open it and login with your credentials.
This way you can use iMessage on Windows even when Mac is not available with you and the steps are so simple as well.
Conclusion
Although using iMessage on Windows is not as easy as using WhatsApp on PC but yes if you follow above mentioned steps, you can achieve this goal as well. So try any of the above steps and enjoy.

No Responses