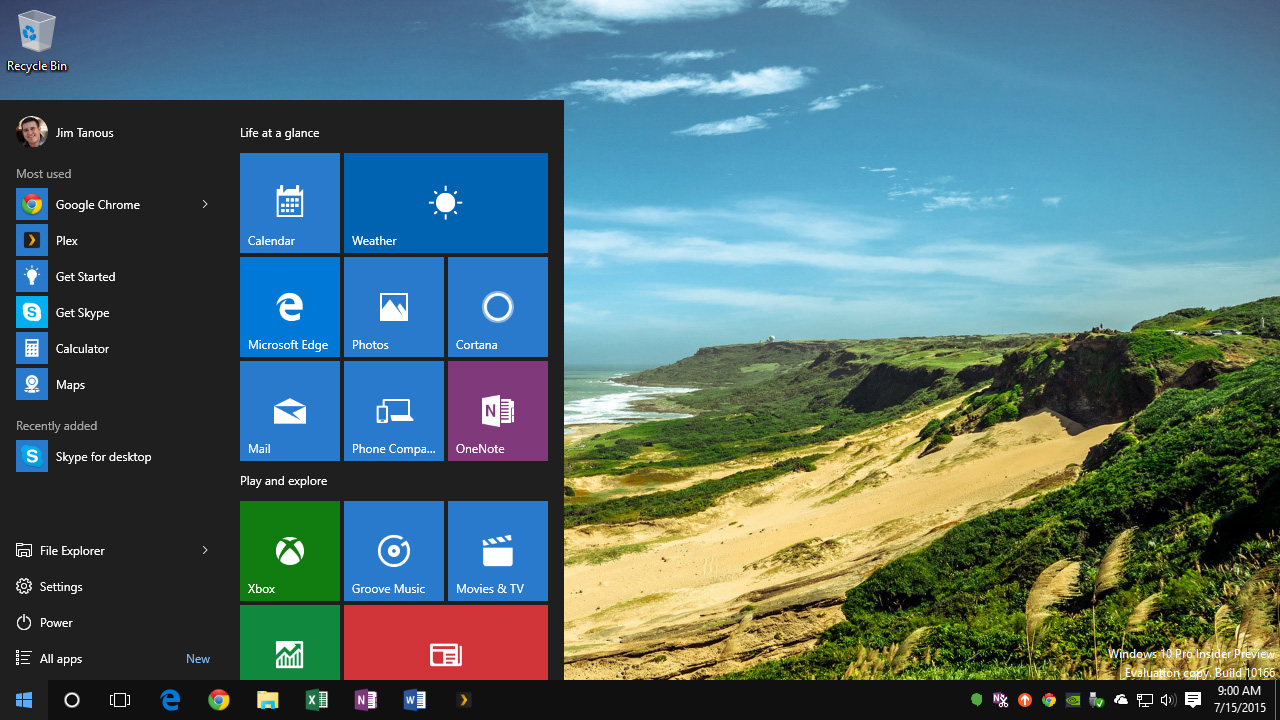
Microsoft launched Windows 10 in 2015 and many computers crashed as the latest operating system had bugs that damaged sound cards, graphic cards and a lot more.
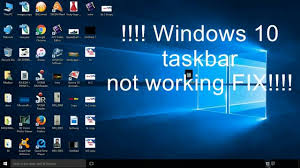
Many users across the globe have been reporting that their Windows 10 Taskbar not working and often freezes.
Among the various issues experienced by the Windows users, there were growing number of reports of Windows 10 taskbar not responding. Although Microsoft helped solve this problem through its community forum, there are still many who are experiencing the annoying error. If you are also experiencing the same.
Quick Ways to Fix the Windows 10 Taskbar not Responding Error

Method 1: Reboot Windows Explore
If you experience the Windows 10 taskbar not working error then reboot your Windows Explore before trying any other method. To reboot Windows Explorer open task manager by pressing the combination key Ctrl + Shift+ Esc. Tab on the processes option and select Windows Explorer from there simply restart the Explorer. Refer to the image. 
Method 2: Download drivers
In certain cases, it has been found that the Windows 10 taskbar not responding error is often experienced by the one with a PC of some missing drivers. Downloading the necessary drivers can solve the problem. To do so, you will first have to identify the outdated drivers. To identify the outdated drivers run a scan. Once you have run the scan the computer will suggest the drivers that need to be upgraded or downloaded. 
Download the required drivers and the Windows 10 taskbar not working message will disappear for good. Don’t forget to reboot your device after downloading any driver. This will ensure the proper functioning of the system.
Method 3: Windows PowerShell
Windows PowerShell can also be used for fixing Windows 10 taskbar not working error. To use the PowerShell, open command prompt from the start menu. Type in PowerShell in the command prompt and hit the Enter button. Paste the link Get-AppXPackage -AllUsers | For each {Add-AppxPackage -DisableDevelopmentMode -Register “$($_.InstallLocation)\AppXManifest.xml”} in the PowerShell and hit the Enter key. Close the PowerShell and go to C:/Users/name/AppData/Local/ delete the folder with the TileDataLayer name.
Method 4: Start From The Scratch
This can be a really annoying method, but it has helped many solve the Window 10 taskbar not working error.
Create a new account as the problem may have to do something with your administrator credentials. So, create a new account by pressing Windows key + I this will open up settings.
Tab on the Accounts setting and then select family & other users. Select other users and then choose the option ‘ I don’t have this person’s login information’. Now you will be asked to add a user without a Microsoft, account, select the option and create a new account. Set the new account as the administrator account.
To set as an administrator account, change the account type from the user to administrator. You are done.
The aforementioned methods will surely help you solve the Windows 10 taskbar not working error permanently. In case, you still face problems contact a person with technical knowledge on it. Windows 10 can cause some serious issues at times with faulty drivers and updates that don’t match the original configuration of your computer.
If you are experiencing the Windows 10 taskbar not responding error it means that there is something wrong with your operating system. Make sure you have the original Windows installed with a motherboard working impeccably.
The aforementioned methods are for sure likely to solve the annoying Windows 10 error for good. No matter what method you decide to try, make sure that you restart your device after making changes to allow proper installation and working of the computer.
Other Windows hacks:

One Response
Thanks for giving this essential information.